I’ve been asked once or twice how I create some of my images. Here’s a quick rundown on how I did this illustration.
This tutorial is not aimed at making something look great but really to get the job done with a quick deadline. I’m not a great illustrator but I can get shit done fast and still make them look reasonably good. Sometimes that’s all the job requires.

It’s not overly detailed or even that good but it only took an hour and it’s going to be pretty small in the final image.

So here we go!
Step 1 – Source File
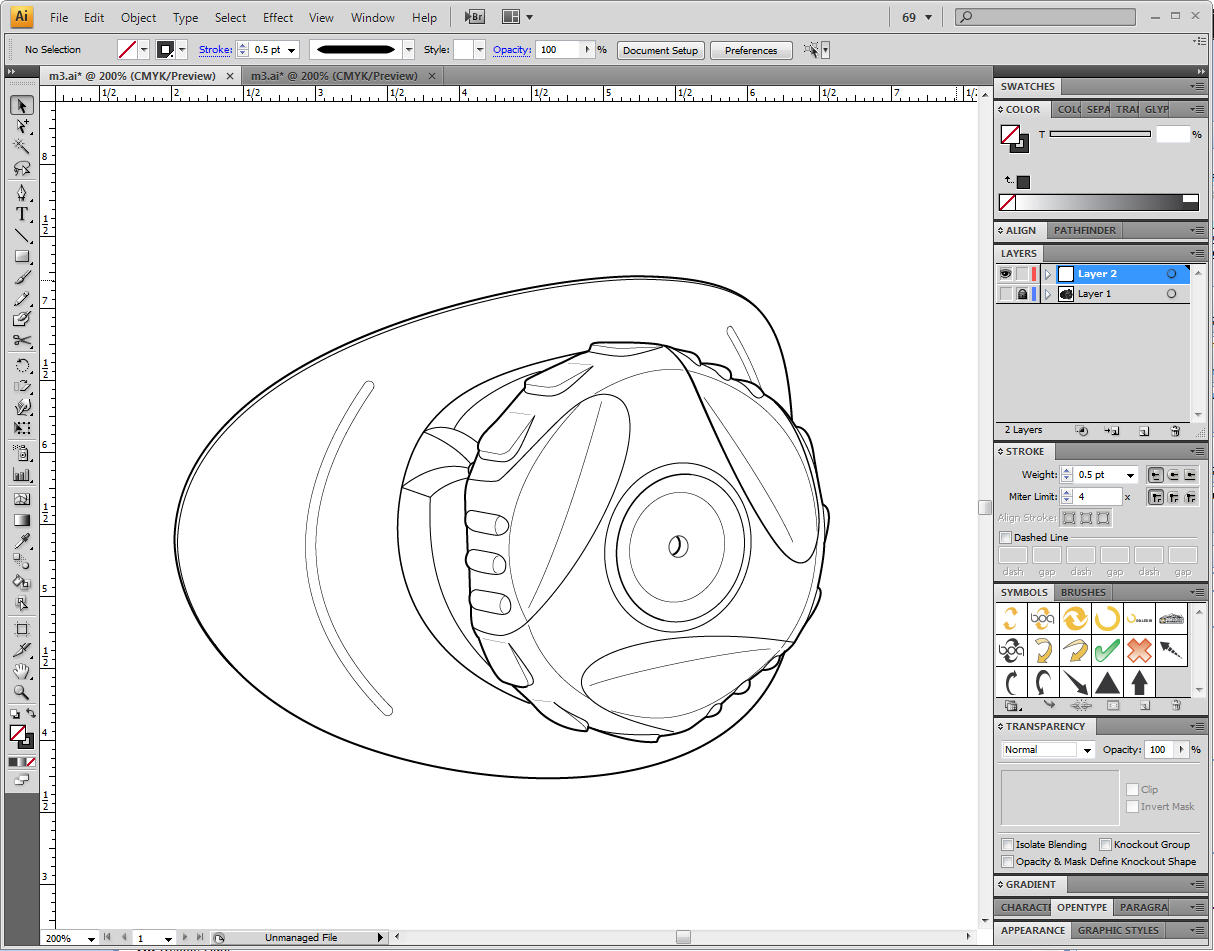
Here I took a screen capture of a 3d model out of Solidworks. Paste that crap into illustrator and set up some layers. One layer for photo and one for line art, lock that photo down.
Before I keep going you might be asking why I bother with all this and don’t just use a 3d rendering. Good question!
Well for one we don’t have 3d data for the boot, so I had to draw that and in order to keep things consistent (and keep myself employed) I draw everything to match.

Step 2 – Trace it
Trace that shit! Standard stuff here, 0.5 point line weight with a 1 point thick line.
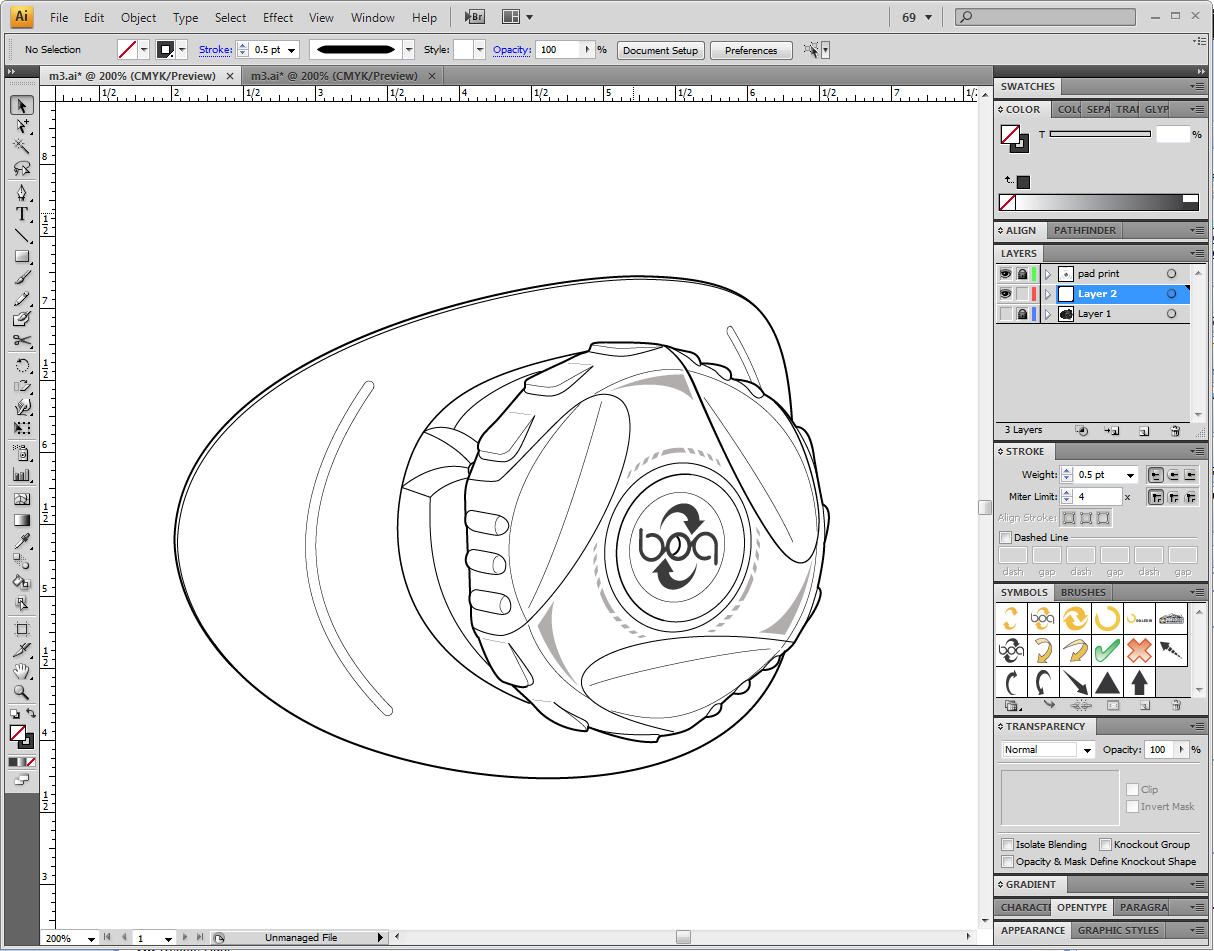
Step 3 – Details
I’ll add in some of the fancy details like pad print and logo on a separate layer.
Step 4 – Ctrl-C > Ctrl-F
Now I’m getting ready to block out the basic color shapes. First I’ll copy the line art to a separate layer appropriately titled COLOR.

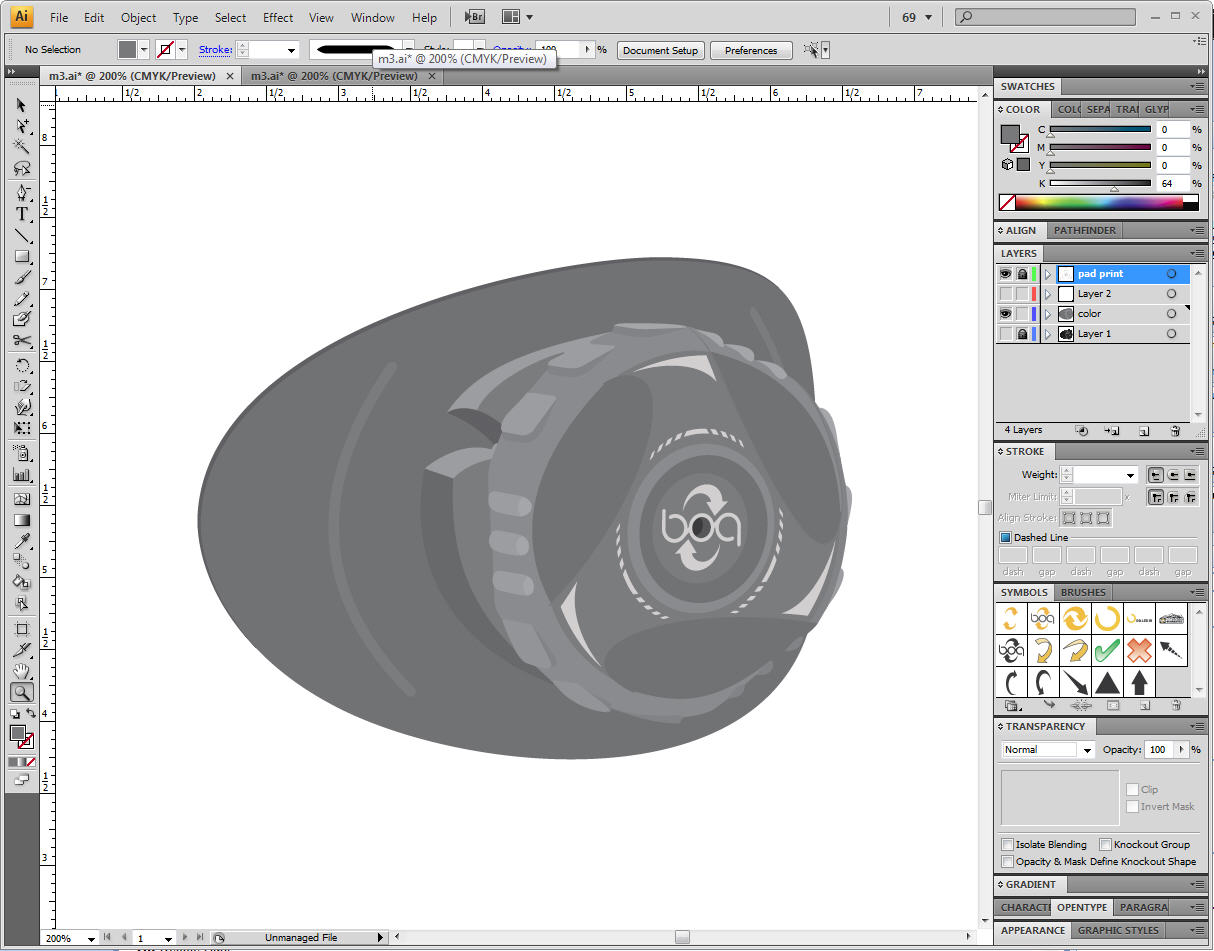
Step 5 – Add Color
Fill in the line art with the live paint bucket. I usually keep it to 3 shades of tone, light, medium and dark. Keep it simple.
I love the live paint bucket, if you’ve been using illustrator for any period of time you’ll remember the hellish days of having to join all of your lines to make one freaking shape of color. Torturous.

Step 6 – Don’t stroke it
Get rid of that stroke on the color layer, it will just get in the way later, plus you can really see if your shades of color are working.
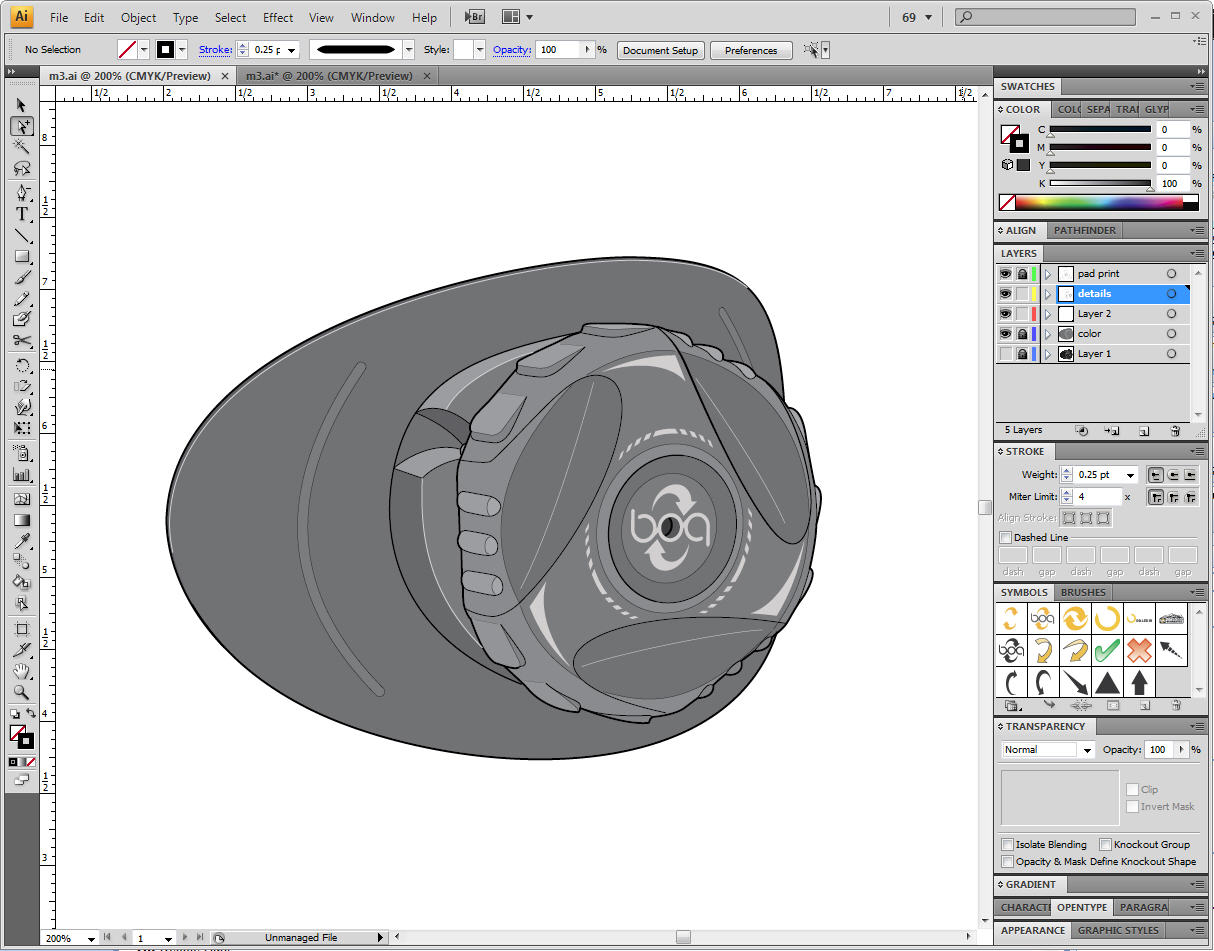
Step 7 – Final File Setup
Sometimes I will take a lot of the lines that I’m not sure if I will use later or not and just stick them on a new layer that I can turn on and off or adjust in Photoshop.
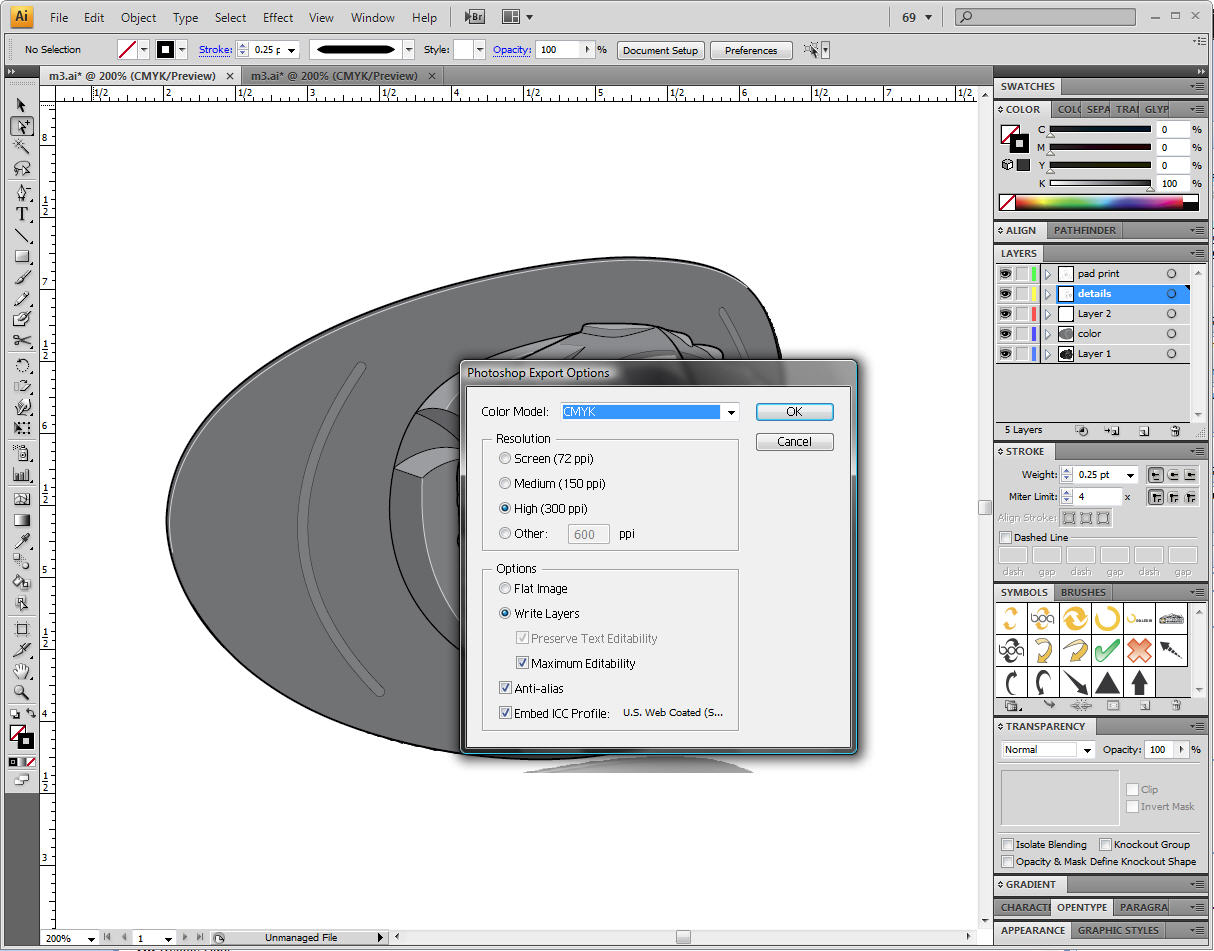
Step 8 – Export to Photoshop
We are done with illustrator. Export everything to a .PSD file and make sure the write layers button is checked.
Here’s a tip that has screwed me up a few times. Make sure you don’t have any stray points or lines outside of you main image area, if you even have a point wayyyy out to the very edge of your artboard you will probably get out of memory errors when you export because it’s including all that space and making the file huge.
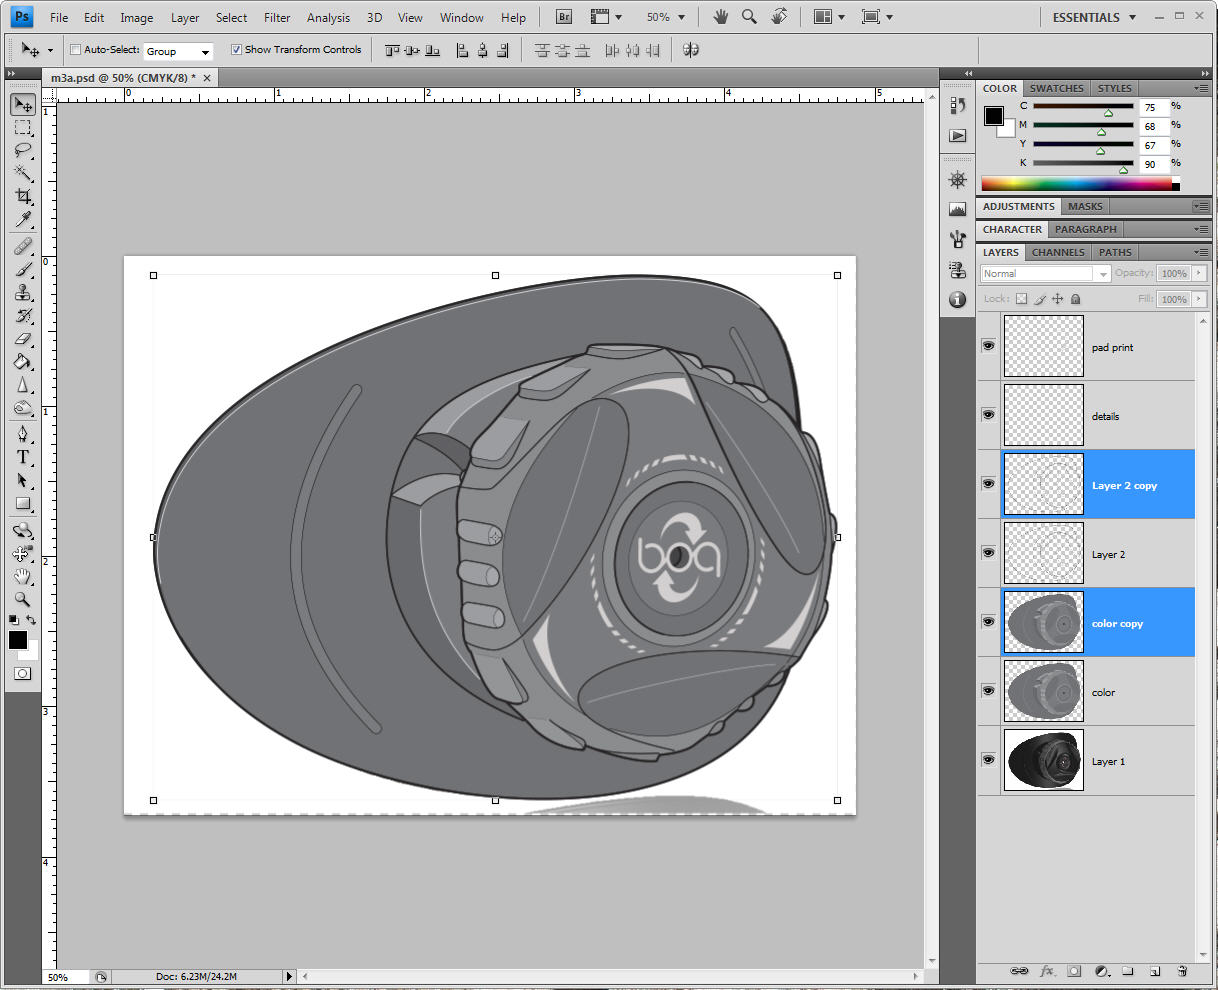
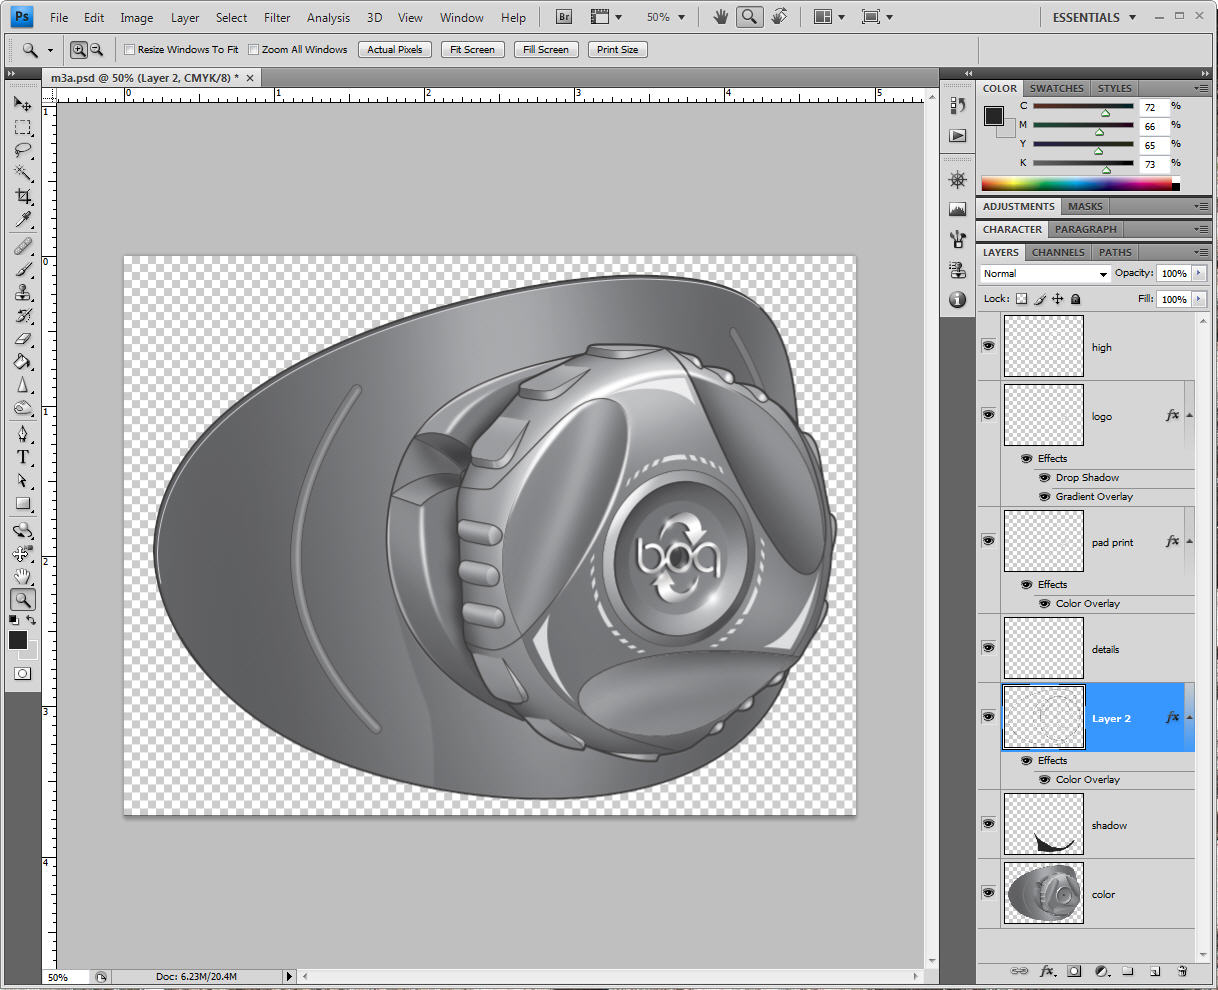
Step 9 – Backup layers
I’ve messed up art layers too many times, so I usually make a copy of the important ones. Lock one of them and only work on the other.
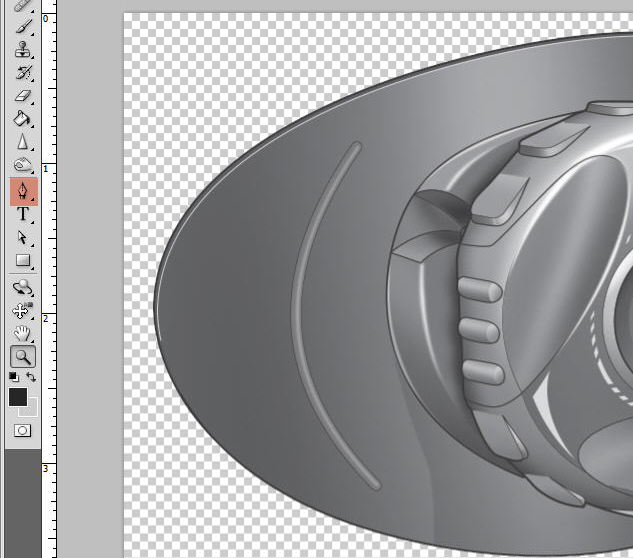
Step 10 – Get Shady
Go nuts with the dodge and burn tools. This is one way and the fastest and easiest for me. Alternatively you could use the airbrush on a separate layer and paint everything. One thing I tend to have a habit of not doing enough is naming all of my layers, it does make life much easier.
A couple of tips:
- I usually have my exposure setting on the Dodge and burns tools set from 10-30%
- Use the [ key and the ] key to adjust the brush size on the fly.
- Use the lineart or color layer that you copied as your base for making selections of areas to dodge and burn.
- In other words, with the magic wand selected, select the area you want to shade. If it’s an area you have already worked on you won’t be able to select it easily so you can use the copied layers instead.
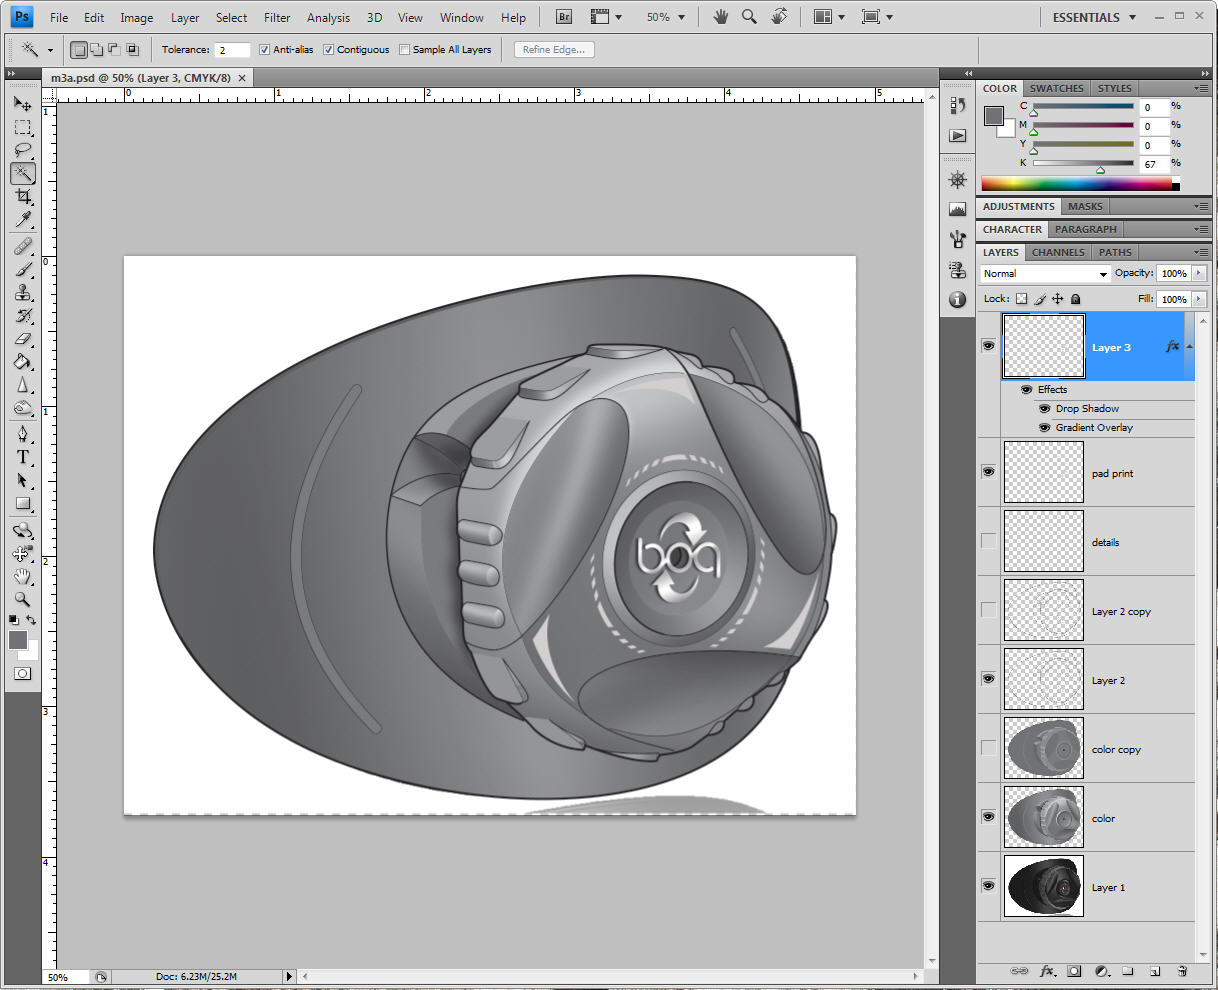
Step 11 – Add Highlights
Here’s how I do it. First I setup a soft brush in white to the size I want. Then I use the pen tool and draw the lines where I need my highlights. Next I right click on the line with the pen tool still selected and I select stroke path.

Make sure Simulate pressure is selected, that will give you a nice tapered line.
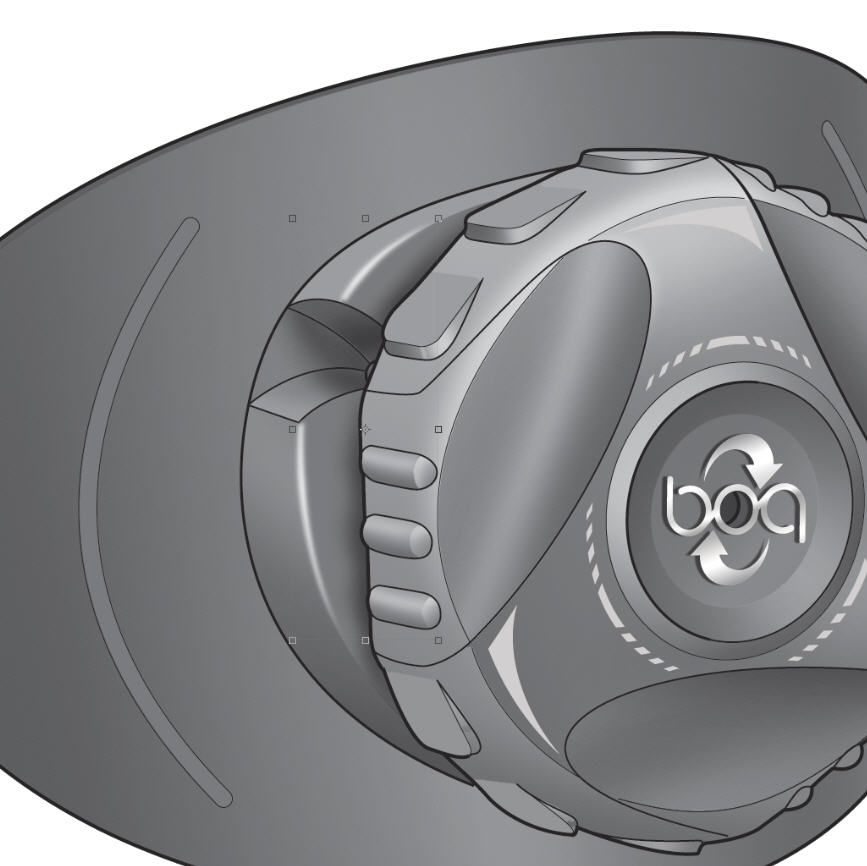
I’ll do all of this on a separate layer so then I can add a little Gaussian Blur to soften it up.
That’s pretty much it.
Any questions or comments about how I’m a dumbass and could have done this better and easier, feel free to let me know.
Or if you just want to talk about beer, that would be cool too.
How often do you incorporate 3D into your work process. Personally, I’d much rather work with 2D imagery throughout the whole thing. Are there many companies out their that use mainly illustrator and photoshop files instead of 3D? 3D hasn’t been the most intuitive and time friendly programming for me so I was wondering if a technical illustrator can survive just as a 2D programming person?
I only use 3d for reference images. I only know the basics when it comes to 3d software, enough to open a part, rotate it into the view I need, explode assemblies and get an image into illustrator.
It was a necessary skill to know in the automotive industry along with the outdoor industry that i’m in now. I also work side by side with engineers and industrial designers. Shoe designers only use illustrator and not 3d as far as I know. The great thing about using 3d data is that I can rotate a part around to match to match the view of another illustration i’ve done, it’s just faster than setting up parts and trying to get the right photo taken.
Clint,
Thanks for posting this – I always enjoy seeing this sort of work-process illustration.
Most of my work is a mix of 3D and Photoshop – but that’s much more ‘photo- illustration’ than ‘technical illustration’ on the whole. But you guys are right: they call it 3D cause it takes at least 3 times as long…
Clint,
Great tutorial, thanks, particularly the detail on making embellishments in Photoshop.
I always create a SolidWorks drawing with all the views I need from a 3D CAD model in SolidWorks, then save the drawing out as DWG. That way it comes straight into AI as vectors in all the right views.
Thanks Andrew. I’ve tried the whole exporting vectors out of various 3d software and have never had good luck. I’m too picky about having clean vectors, I feel I usually have to spend too much time cleaning up the export that I can usually just trace a screen cap faster.