This is a very quick and easy tutorial for creating an isometric grid in Adobe Illustrator, which you can then either work directly over in Illustrator or print out for freehand sketching.
If you want to skip the tutorial and get working in isometric right away, download these completed grids in PDF format, ready for printing or import into Illustrator or Corel:
- Download 1/4″ (0.25 inch) Isometric Grid – Cyan
- Download 1/4″ (0.25 inch) Isometric Grid – Black
- Download 1/8″ (0.125 inch) Isometric Grid – Cyan
- Download 1/8″ (0.125 inch) Isometric Grid – Black
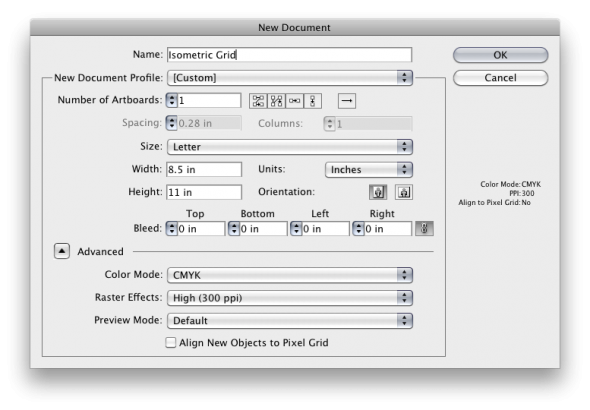
1. Create a new document (File > New…). In this case we’re creating a grid we can print out, so we’ll make it letter sized. Set the units to Inches.
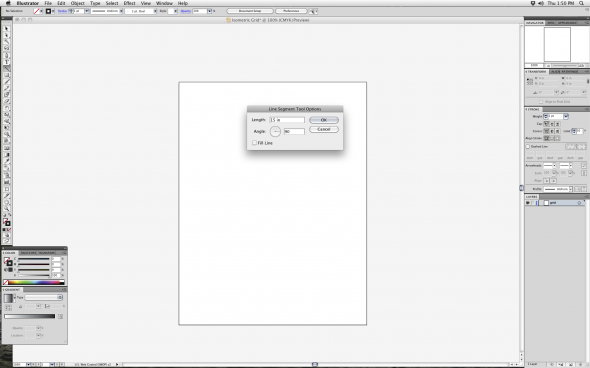
2. Draw a vertical line longer than the page. Select the Line tool [press the \ key] and click once (don’t drag) or press Enter. Enter a length of 15 and angle 90 for a 15 inch vertical line.
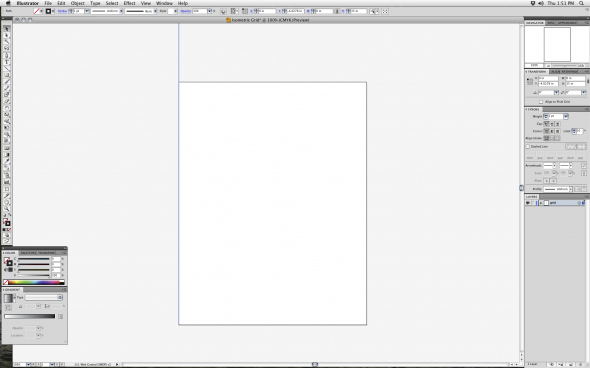
3. Move the line to the lower left corner. Using the Selection tool or “black arrow” [V] grab the line by the lower point and drag it to the lower left corner of the page. Your cursor should turn white when you’re over it.
4. Set the Keyboard Increment to 0.125 in. Open the Preferences panel (File > Preferences > General or Illustrator > Preferences > General, or simply Ctrl/Command K). Type 0.125 for 1/8″ increments. Press OK.
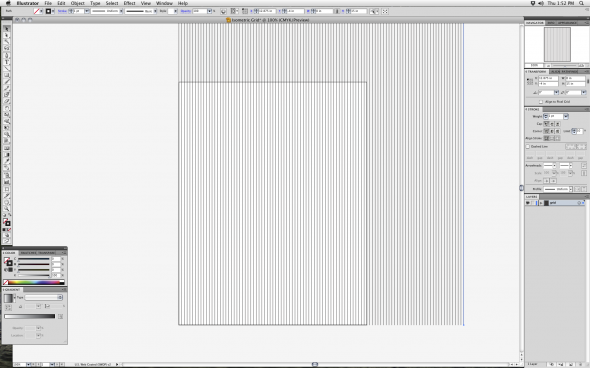
5. Duplicate the line horizontally. Hold the Alt/Option key and press the Right arrow key. The line will be duplicated 0.125″, our increment setting, to the right of the original. Keep doing this until the duplicates run well off the page.
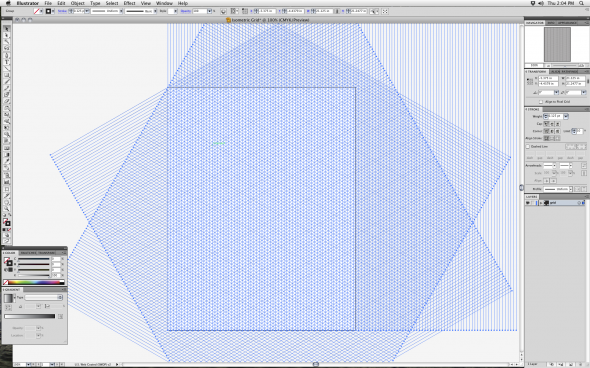
6. Rotate 60 degrees. Select all the lines (drag a marquee selection using the Selection tool [V] or press Ctrl/Command A). Select the Rotate tool [R] and press Enter. Type 60 for Angle. Hit Copy. Align the end of one of the lines to the top left corner.

8. Reflect. Select the Reflect tool and press Enter. Ensure the Vertical radio button is selected, then press Copy.
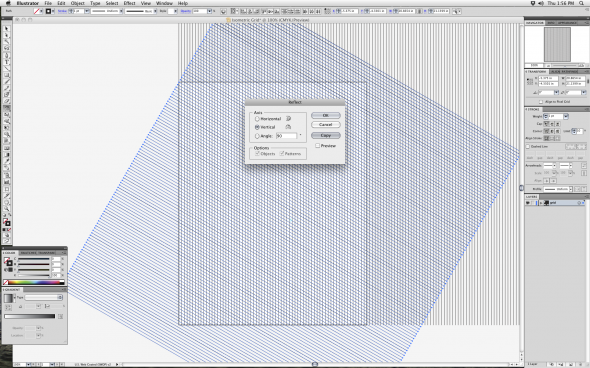
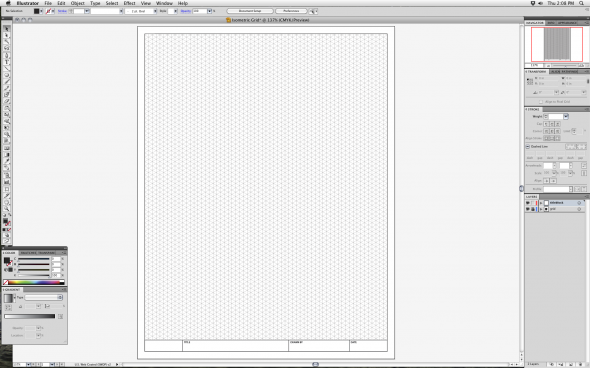
9. Check the alignment. The grid should look like this, all identical equilateral triangles.
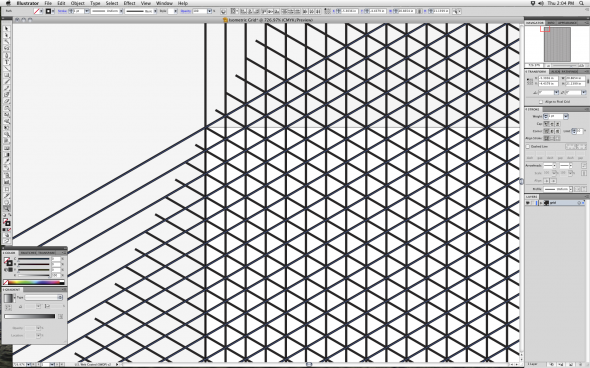
10. Select everything. Drag a marquee selection with the Selection tool [V] or press Ctrl/Command A. Group all the lines (Object > Group or Ctrl/Command G).
11. Draw a rectangle. Select the rectangle tool [M] and click (don’t drag) on the top left corner. Make the rectangle 8 x 10.5 inches and press OK.

12. Position the rectangle. Press [Down] twice and [Right] twice. This will give us a 1/4″ border on all sides of the rectangle.
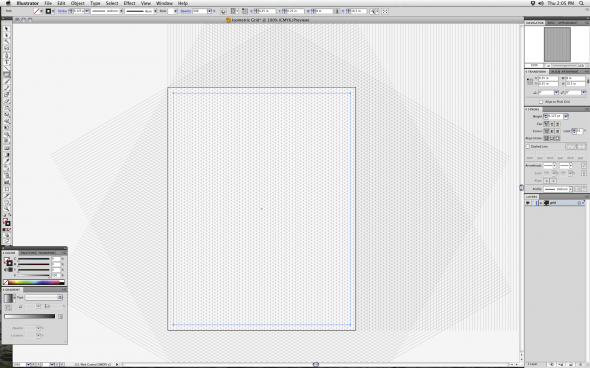
13. Select everything. Ctrl/Command A.

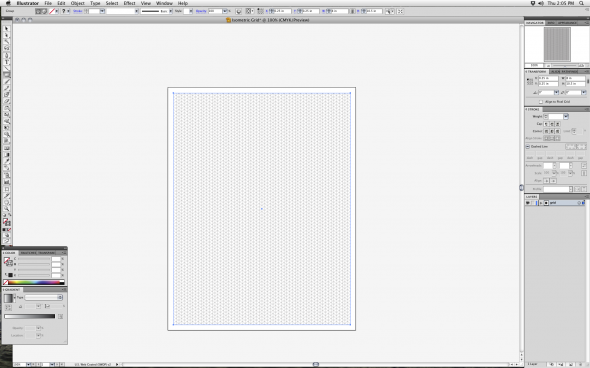
14. Create a clipping path. Object > Clipping Path > Make or Ctrl/Command 7. This will hide everything outside of the rectangle.
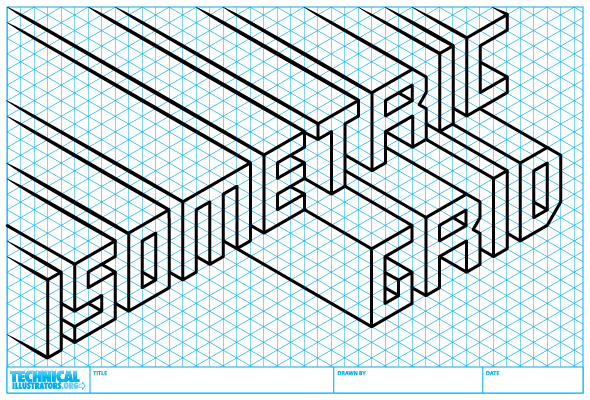
16. Add a title block (optional). Include your logo, a place for a title, your name and the date.

Hi. Found this site while wandering today and noticed that the isometric pdf links seem to be broken.
Thanks for the heads up, Burt. All fixed now.
Really handy. I’m not an illustrator – I’m drawing challenged, but this grid makes it easy to quickly sketch simple stuff. Now I have to see if I can get Illustrator to snap to these intersection points. I’ll look for help on the internet but that might be a nice “next step” tutorial for idiots. Thanks!
I found your tutorial very helpful. Do you have other tutorials, as for illustration techniques or shortcuts for those rush assignments to be done “yesterday”?
Great man! :)) very helpful tutorial.
Oh this is so usefull!
Thanks so much for this! Would have been nice if you also gave us a download link but perhaps that just me being lazy :)
@Wink
Not reading the whole post is you being lazy.
There are download links at the top ;)
Very Nice, It’s very use full for isometric drawing, I am awaiting more tutorials from your side
Thanks for the tut. Very helpful!
thank you so much. makes isometric drawing a whole lot easier.
thanks !!!!! i need to know this :) great tutorial!!!!
Works like a charm,but why not do this using a pattern? Would it not work too?
thank you very helpful tutorial ! At first I was lost with the inches values (habitually I use centimeter), but after that I draw my own isometrical sheet very quickly.
Or, you can go to Incompetech and use their scripts to generate all kinds of grids, with tweakable parameters, which you can download as PDF files. For free.
http://incompetech.com/graphpaper/
Thanks for this tut, it’s perfect for a project I’m working on. It’ll help make sure that our team of designers has all the illustrations at the same angle!
Muchisimas gracias, estaba buscando una guía para crear hojas isométricas hace un tiempo! Muy buen tutorial!
Right click the link and hit “save link as” for anyone having a hard time downloading it. Took me a while to figure out.
Me encanto este tutorial no sabia que se le llamaba cuadrícula isometrica a esto, muy útil. Gracias!! ^^
Nice tutorial! Except I wanted to use the grid as live paint and fill it in with the paint bucket. When I used the clipping mask I seemed to have lost that capability. Any way around that?
@Livy You can either convert the grid to a Live Paint object before clipping it, or after by double clicking the clipped object to enter Isolation Mode, selecting the artwork and going to Object > Live Paint > Make.
Isolation Mode allows you to edit only the clipped artwork without affecting other objects on the artboard. Double click off the clipped artwork to exit Isolation Mode.
You should then be able to Live Paint in or out of Isolation Mode.
Great refresher. Thanks James!
I just downloaded a single sheet with isometric grids and put it as a layer, and drew on top of it. Easier, then you just remove the layer, or hide layer when you don’t want to see it.
Thank you for the tutorial!
For anyone who wanted Snap To functionality, you can stop before masking the lines and instead, select all the lines, go to View > Guides > Make Guides instead. Then between Snap To and Smart Guides, it’s easy-peasy to use the pen tool to create perfect shapes.
Hello just wanted to give you a quick heads upp and let you know a few of the images
aren’t loading correctly. I’m not sure why but I think its a linking issue.
I’ve ried it in ttwo different web browsers aand both show the same results.
Gracias ! ! ! Me es muy útil, Estoy participando en una jam. La jam4life. Es un trabajo rapido, agradezco tu aporte a mi trabajo.
Saludos
Marisol
THANK YOU VERY MUCH FOR THIS!
Thanks so much! Very easy to follow tutorial!
Following thing i dont understand or i cant do it in windows, please any one can help me? ///5. Duplicate the line horizontally. Hold the Alt/Option key and press the Right arrow key. The line will be duplicated 0.125″, our increment setting, to the right of the original. Keep doing this until the duplicates run well off the page.///
@ surendhra
Make sure the line is selected, then hold down the Alt key and press the Right arrow key.
Thank you very very much… : ) : )
Thank you :)…
I have a problem with snap to GUIDE! How can force illustrator to snap to intersection point [in Isometric Guid]
@Amir
You’ll want to enable Smart Guides (View > Smart Guides) then in Preferences > Smart Guides make sure Anchor/Path Labels is enabled.
@James Provost
Option is Enable! [is checked], but not work!
Amir, what version of Illustrator are you using?
Try setting Snapping Tolerance to something like 5pt, and disable Snap to Grid, Snap to Point and Pixel Preview if they’re on.
James, AI CC 2014, I disable all of that! [Snap to Grid, Point & Pixel Preview]. I set “Snap to Point” to “1 pt” but there is problem! When set to “5 pt”, it’s better.
I had problems with Smart Guides in CC and CC2014 as well. I’ve switched back to CS6.
Great, great, great!
Thank you very, very much.
Keep up the good work people. :D
Thank you so much for this!
Clearly explained; thank you. If, rather than lines, I want to generate dots at each intersection, is there a simple way to do this?
@Julie, I would create one dot in the top left with the circle tool and align its center to a grid intersection using Smart Guides (Ctrl + U) and maybe Outline Mode (Ctrl + Y). Then using the Select Tool, grab the dot by its center, drag it right to the next intersection, holding Shift to constrain the movement horizontally and Alt/Option to create a copy and release. You should now have two dots. Press Ctrl + D to repeat that copy horizontally for the whole row.
Next, select all the dots in that row and grab the center of one dot. Alt/Option drag it to an intersection in the next row below. You should now have two rows of dots, slightly offset from each other and lined up with the intersections of the grid.
Lastly, select all the dots in both rows and drag from the center of one dot in the top row to an intersection in the third row, holding Shift to constrain the movement vertically and Alt/Option to copy. Press Ctrl+D to repeat this action for all the rows in the grid.
I hope that is clear.
Hi, just working on it :) at the end of making the grid, group all and remember to LOCK the grid (Object>Lock> Lock Selection) !!!
Estou baixando Outlast agora e também pela PSN demoraria 8 horas,
pelo PC vai demorar 2 horas para encolher +
15 minutos para transferir pro PS4 via proxy.
I think that is among the so much important information for me.
And i am happy studying your article. But want to remark on few common issues, The web site taste is great, the articles is in point
of fact nice :D. Excellent activity, cheers.
Using a hexagon that is rotated 90 degrees and putting it across the page is a much much easier to achieve the same output.
Thank you so much!!
Thank you very much for this. Was trying to figure out how to create the grid for an engineering client for their scratchpads and other tutorials left me with lines that just were not lining up.
Two notes:
1: ensure that “align to pixel grid” is turned off.
2: I was trying to match an existing isometric grid that they were using and the equilateral triangles were much taller. Applying a non-uniform scale (horizontal kept at 100%, vertical was done to around 86%) in the transform menu after all the lines were created helped huge in this aspect.
Thanks again!
Thank you very much :)
Hi there,
Is the ‘Isometric Grid’ image available as an A3 PDF for me to print as a poster in my classroom?